Create HatchKeyCreator / Detail / Crosshatch / Create Hatch
Use this function to create hatching based on the settings you specify in the Select Hatch Pattern dialog, which appears when you select Detail>Crosshatch>Create. Through this dialog, you are able to choose from a variety of different crosshatching styles.
Using the Function:
Dialog Options: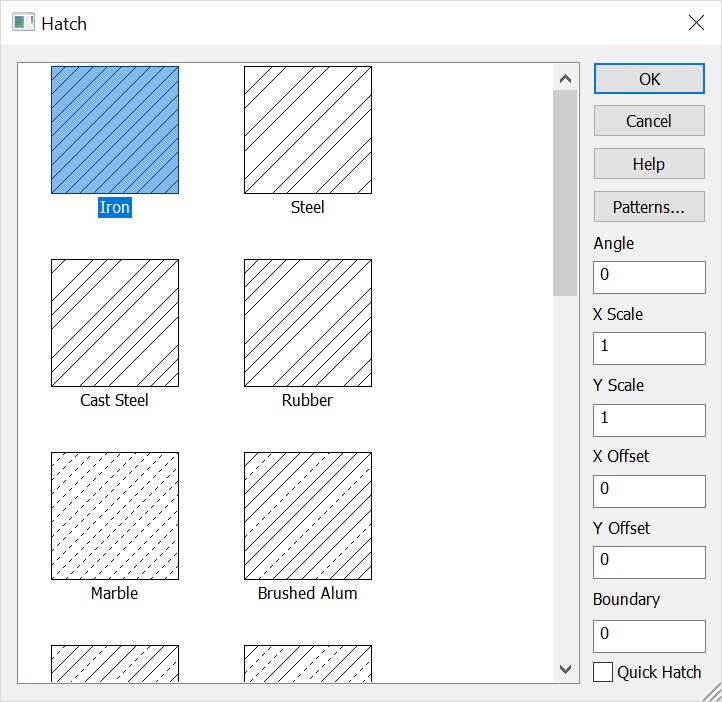
The window on the left side of the dialog shows the name, description and a preview of the available hatch patterns. Select the pattern to use for the crosshatch. PatternsDisplays the Add Hatch Patterns dialog. Click here for a description of this dialog. AngleSpecify an angle by which to rotate the pattern relative to what is displayed in the preview of the hatch pattern. X Scale & Y ScaleSpecify a scaling factor to apply to the pattern. X and Y refer to the x and y axes of the pattern as displayed in the preview. This is used to increase or decrease the size of the pattern to control the size of the pattern with respect to the geometry. Entering two different scales for X and Y stretches the pattern along the x or y axis. X Offset & Y OffsetSpecify an offset value to apply to the pattern, in part units. X and Y refer to the x and y axes of the pattern as displayed in the preview. This field allows you to offset the pattern so that neighboring crosshatches with the same pattern are visually distinguishable. When using the pattern to generate the hatch lines, the Scale values are applied first, followed by the Offset values, and finally the Angle value. BoundaryIf you enter a non-zero value here, then the crosshatch will internally create an offset copy of the boundaries, and only hatch between the original and offset boundaries. This has the effect of stopping the hatch lines at this distance from the boundary. Quick HatchSelecting this check box allows you to click inside the closed-perimeter area to crosshatch that area. Clearing this requires you to select all segments that close the perimeter of the area you want to crosshatch, and then click Accept. You can alternately remove a crosshatch by using the Edit>Delete>Single and choose the crosshatch to delete.Islands will be created around all text within border area.
Verifying Crosshatch Entities:Crosshatch entities can be verified using the Tools>Verify>Entity function. Once you have selected this feature, select the hatch entity you intend to verify. |