KeyCreator / Tools / Machinist / Finish / Radial

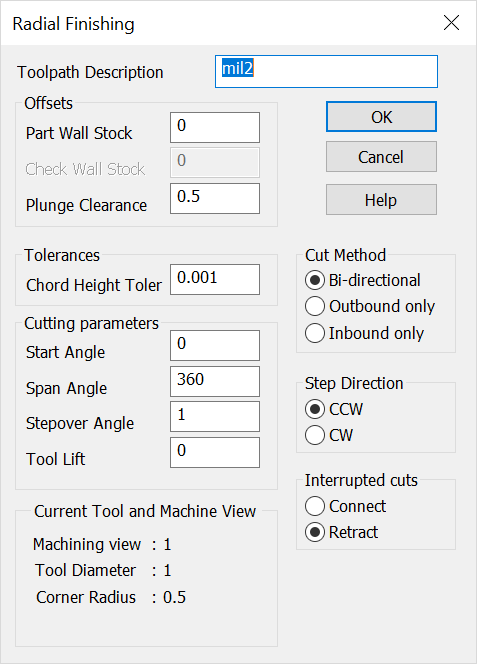
Use this feature to create a tool path that moves over by angular increments around a point. When this feature is selected, the Radial Finishing dialog appears, containing Offsets and Tolerances settings, among others. Once you OK the dialog, the tool path is created per your specifications.
Radial Finishing Dialog Options:
Toolpath Description
Specify a name or description for the toolpath being created.
Offsets
-
Part Wall Stock – Specify how much stock to leave in 3D.
-
Check Wall Stock – Specify the distance away from the check geometry the cutting tool will remain.
-
Plunge Clearance – Specify a height above the cutting plane at which the Z-Axes will go into feed mode.
Tolerances
Cut Method
-
Bi-Directional – When checked, the cutter will go out on the vector, then move to the next pat hand return on the reverse vector.
-
Outbound – When checked, the toolpath is created on the inside and always going out when machining. The tool will lift to the rapid traverse level, move to the next start location, then set down to machine the next path. This uses the box cycling method.
-
Inbound – This is the opposite of outbound. The path begins on the outside and machines toward the point. This also uses the box cycling method.
Cutting Parameters
-
Start Angle – Specify the angle to begin machining from.
-
Span Angle – Specify the angular space you wish to machine, beginning at the start angle.
-
Stepover Angle – Specify the angular increment to step over between passes.
-
Tool Lift – Specify a tool lift value for the end of every pass.
Step Direction
-
CCW – When checked, the angle of rotation from the start angle will be counter-clockwise.
-
CW – When checked, the angle of rotation from the start angle will be clockwise.
Interrupted Cuts
-
Connect – When selected, and when there are holes in the model and a surface to machine, a straight line will be connected across the hole.
-
Retract – When checked, the cutter will retract to the rapid traverse level to move across the hole. The tool will then set down on the other side of the hole and continue machining.
Current Tool and Machine View
Verify that the machining view, tool diameter, and corner radius are correct.
|

