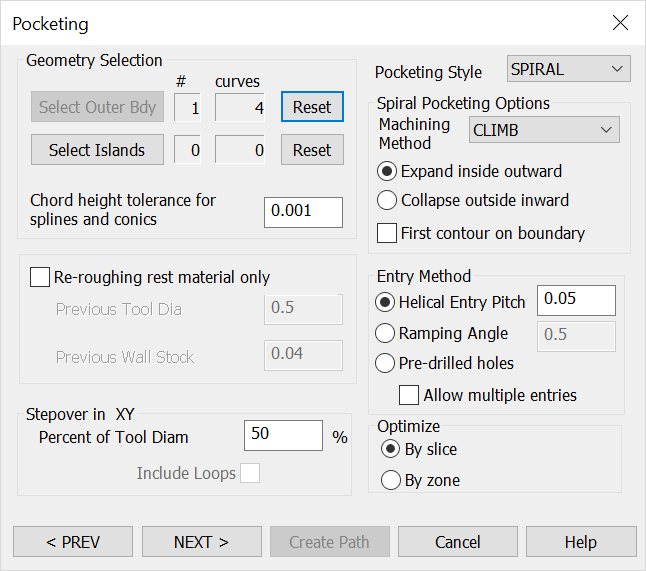
2ND Pocketing DialogKeyCreator / Tools / Machinist / 2D / 2ND Pocketing DialogThis dialog appears when you click the Next button on the first Pocketing dialog. By default, all of the settings on this second dialog are unavailable.You must first select the profile geometry. To do this, click the Select Outer Bdy (boundary) button, and follow the menu options that appear on the Conversation Bar. For a list of these steps, see the 2D Pocketing Overview segment.
Once you have selected the boundaries, and after you have configured the dialog settings that appear, click the Next button to move on to the next dialog.
The 2ND Profile Milling dialog after the Outer Boundary geometry was selected: Geometry SelectionThe information relative to the boundary geometry you have selected appears here. Click the Reset button to return the counter to 0. After clicking Reset, you will be required to reselect the boundary geometry. Click the Select Islands button if you wish to include islands. NOTE: When clearing a pocket with or without islands, the outer boundary is the pocket boundary. The tool will spiral or ramp into the pocket. When clearing the material around a boss, the outer boundary is the stock boundary. The tool will plunge outside the block and follow an optimized pattern converging into collapsing profiles around the boss. Chord-Height Tolerance for Splines and Conics - Specify a chord-height tolerance for splines and conics. Pocketing StyleOnly the Spiral pocketing style is available in this version. Spiral Pocketing OptionsSelect a Machining Method from the drop-down menu. The Climb and Conventional methods are available.
Re-Roughing Rest Material OnlyWhen selected, you are able to specify values for previous Tool Diameter and Wall-Stock. Zig-Zag Pocketing OptionsStepping Direction – Specify a value for the stepping direction. Entry Method
Stepover in XYSpecify a percentage of tool diameter for the stepover in XY. |